Prerequisites: Please see Environment before proceeding.
Download and Install
Step 1: Install Locksmith: Locksmith is our KERI identity wallet and secure web proxy GUI. We currently have installable versions for macOS (arm64) and Windows 11 PCs. To use any other operating system, you can download our Python Wheel and install as described below (Other native installers will be available shortly)- macOS
- Windows
- Python
Shell
locksmith.dmg in Finder, double click and drag the Locksmith Icon into Applications folder.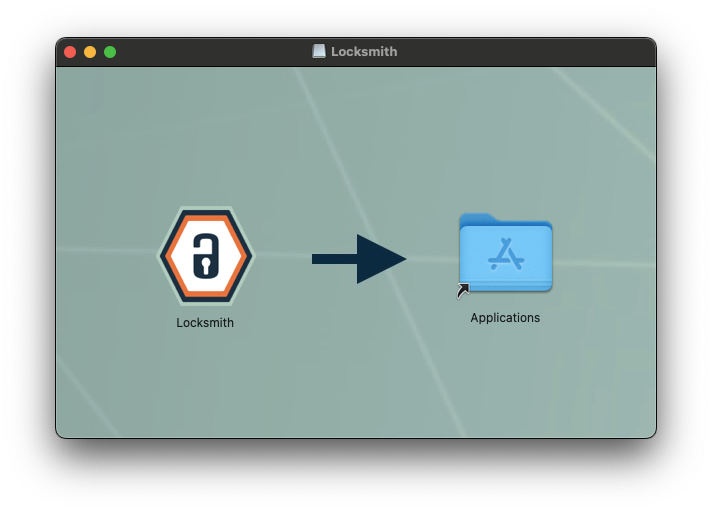
Note: Please see this Guide for using GitHub Desktop instead of the command line.
Launching Locksmith
If you downloaded one of our native installers for Locksmith please use your Operating System to find and launch the application. If you installed the Python wheel in a virtual machine, you can launch Locksmith with the following command:/usr/local/var/keri and the current user has write access to that directory it will create all database files and keystores at that location.
Otherwise, it will create and use a directory named .keri in the current user’s home directory. If you want to back up your KERI identity information and your keystore, you can back up which ever of these two directories is created on your device.
For more information see the KERI Python Reference Implementation.